The Bagpipe Society
Tools of the Trade
As a German bagpipe maker, I live in a region where there is a tradition of playing double and single reed bagpipes. That’s how I came to be making Säckpipa!

You may not be aware, but the thickness of the wall of a chanter influences the tuning of the scale of a chanter. This fact creates some problems when it comes to making the scallops on a Säckpipa chanter. Sure, one could carve them. But if this method is used, it is quite hard to make them consistent and the same depth, resulting in each chanter needing a lot of adjustments to bring the scale into tune.

So, together with an old colleague, I searched for a way of getting the scallops to always be the same depth. Another consideration was to find a way of making them on a low budget! When I started bagpipe making I couldn’t afford to buy special machinery just for making the scallops.
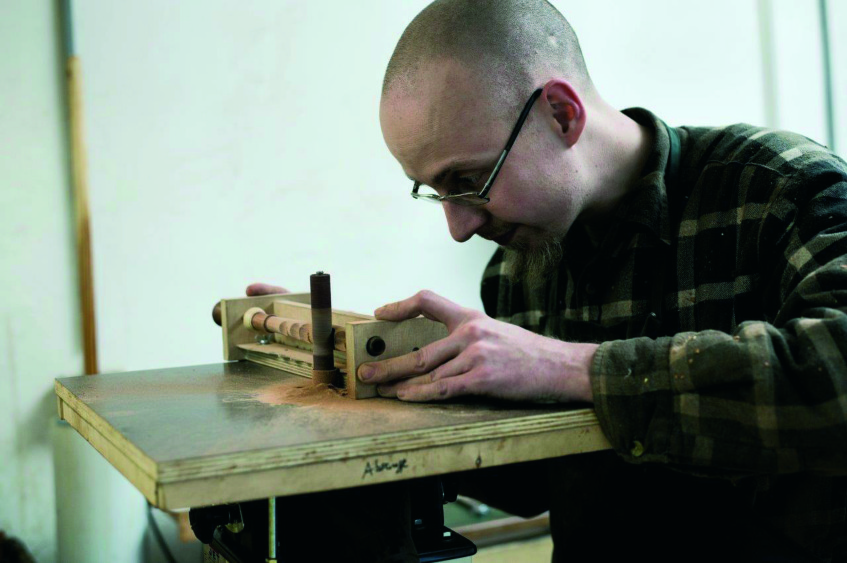
From my point of view there are basically three possibilities of making scallops - Carving, routing and grinding. Carving has the problem I have already mentioned, using a router can tear up the grain of the wood and give a poor finish - so we came up with the idea of grinding . So the Scallop Grinding Jig was invented! The principle is quite simple: You need a jig where you can secure the chanter and have some sort of template for to help create the scallops. For machinery, a drill press with a sanding drum would work, but as I already had an Oscillating Spindle Sander, we designed a jig that could be used with this machine.

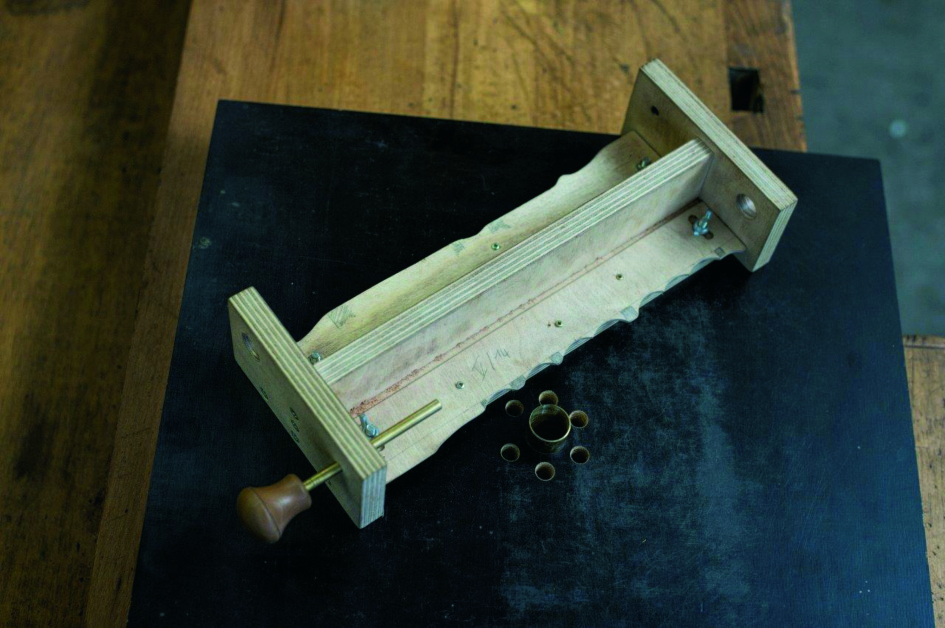
First of all we made a plate that could be attached to the worktable of the sander. It is basically just some plywood you get at any hardware store, with a tube in the middle, going around the sanding drum.
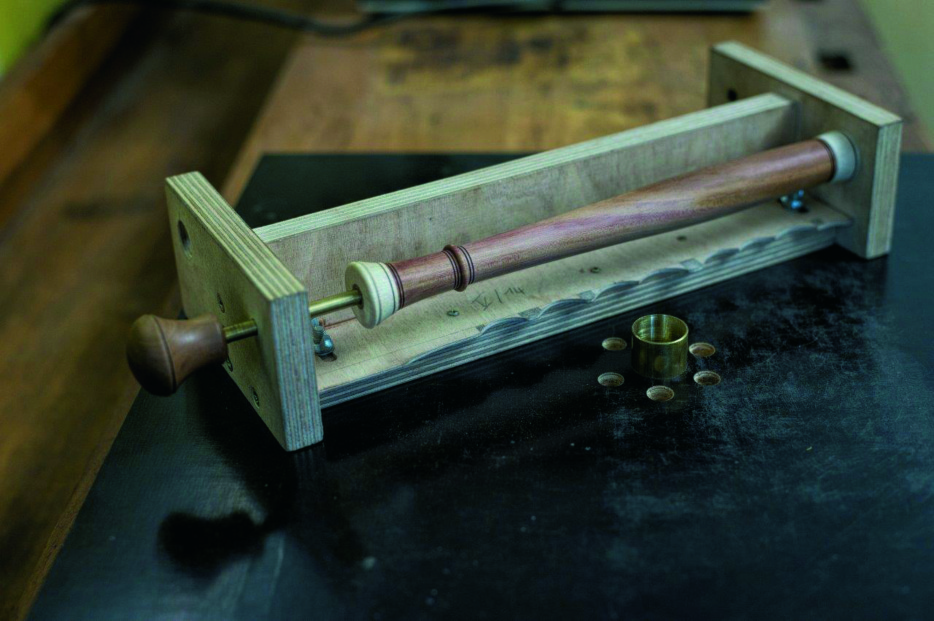
This tube is used as a stop for the grinding jig. The jig itself consists of a template for the scallops at the bottom of the jig, and at the upper part a pin and a hole to set the chanter in. As there are scallops on both sides of the chanter, you need two templates, one for the front, one for the back.

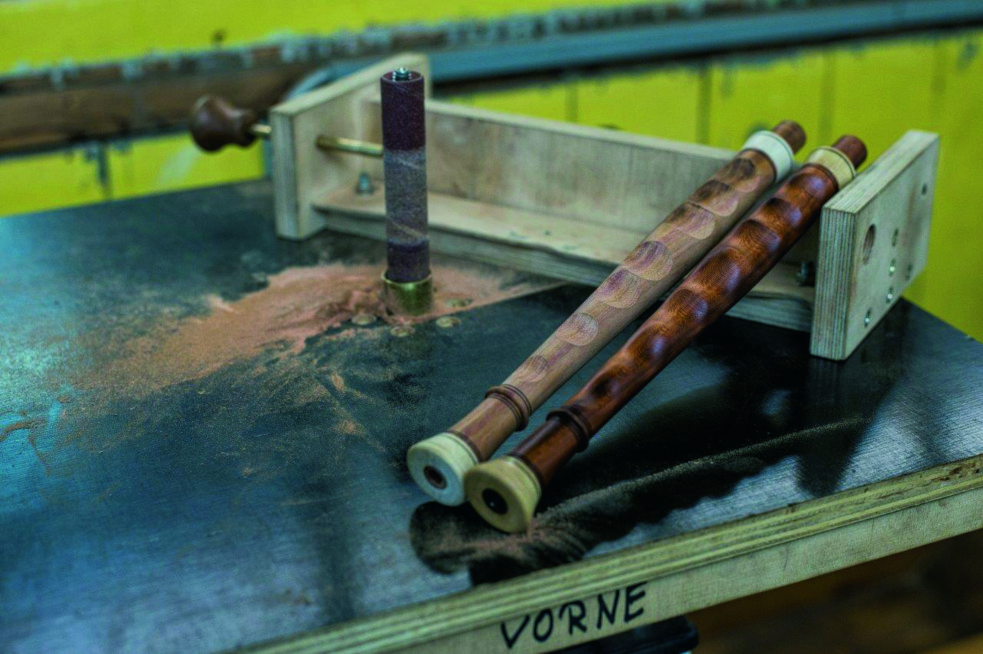
The manufacturing process itself is quite easy: Put the chanter into the jig, switch on the sander and start grinding the scallops. The grinding process is finished when the template, which is attached to the bottom of the jig, touches the tube around the sanding drum. One of the advantages of this jig is also that you could use a prototype chanter as a template.
So, the jig is fairly simple but the result is that it makes the process of creating the scallops evenly and reliably much quicker, and once you have set up the jig initially, there is no need to do any more measuring or adjusting.
- Data Processing Notice (GDPR)
-
@BagpipeSociety on X (formally known as Twitter)
-
TheBagpipeSociety on Instagram
-
 BagpipeSociety on Facebook
Something wrong or missing from this page? Let us know!
